Showing posts with label decor. Show all posts

03 December 2014

Log Wall Christmas Tree


Here we are in the Christmas season and I'm loving every second of it!

During our last cooking class lab, our instructor put on Elf while we made candy - this is already starting out to be a great Christmas.

It started with a great Thanksgiving weekend too! A trip to the lake, seeing the new Mockingjay movie, and Tucanos were highlights for sure!
To finish the night off, we put up our Christmas tree and I think it's beautiful! 
We had a blast doing this tree and it's a great option for anyone who lives in a small apartment. Plus, there is little to no risk of fire without those pesky needles.

Merry Christmas Y'all!

27 December 2012

Home Decor Tutorial - {great gift idea}

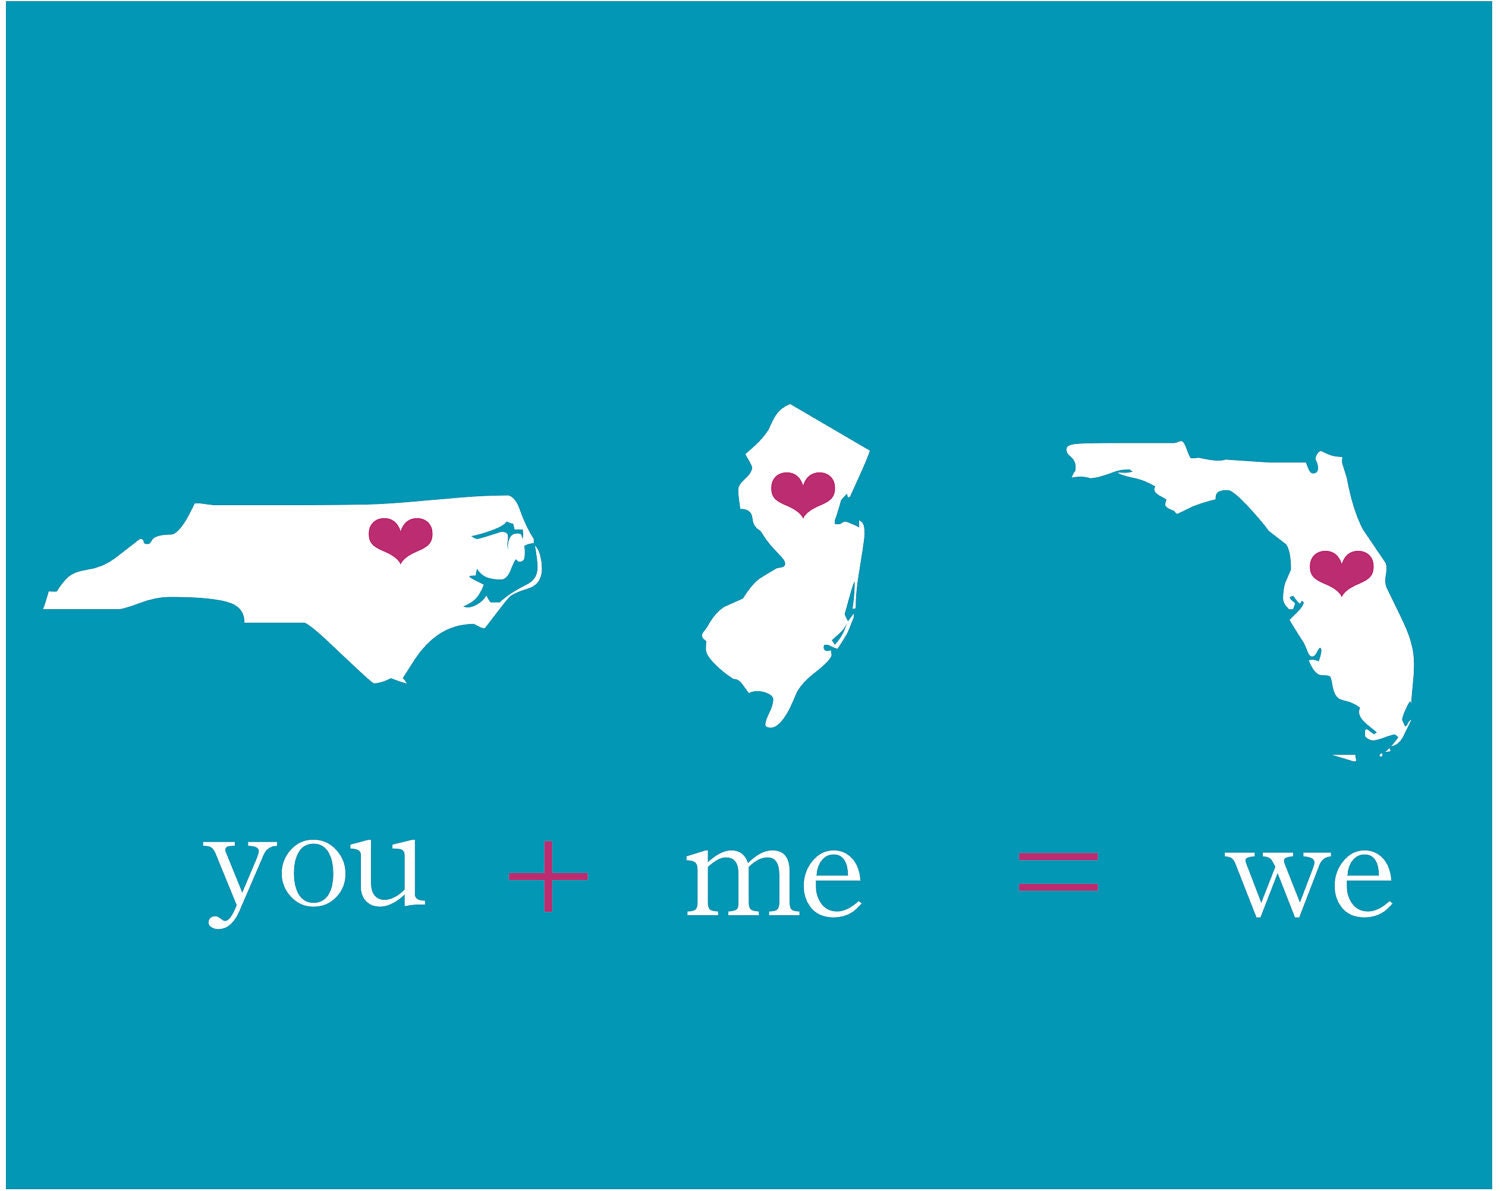
My family stays connected through the holidays with our gift rotation. We don't draw names anymore, we just have a rotation so we always know who we have. This year I had my sister, Candi, who lives in Alabama. They are in a new house and I know she loves decorating so I ran with that idea. Check out what I came up with!


I love the way it turned out and how easy it was (it took me about 10 min). Here are the steps I used:
  1. Pick a frame that is longer. I used one with different spots but you could put it all in one opening. 
  2. Find paper that will fit the opening. This would be more difficult if you have a frame that is longer than the size of common paper. That's why my frame made it a bit easier. 
  3. Print or write the words onto the paper.
  4. Find maps of the areas you need. I went to AAA because if you're a member you can get free maps! 
  5. Trace a heart shape around the cities you need and carefully cut out. I'm a bit OCD so this took me the longest. 
  6. Paste the hearts only the paper. I used regular Elmers glue because mine is behind glass but you could use Mod Podge if you needed.
  7. Place it all in the frame and you are set.
With finals, my birthday, and the bowl game I didn't have a chance to do this until I got to Boise. So sadly it did not make it to Alabama until after Christmas so I decided to give it to Candi via Skype. What would we do with out technology?

I miss her like crazy and I love that we got to spend a little bit of Christmas with her. Even if it was over the internet.


07 December 2012

Sponsored Post - SimplyInspired

Even though we've been living in this apartment since April I'm still nesting this place and while looking for something amazing for my walls I came across some Etsy goodness!

When spending all of my waking time browsing Etsy, I came upon this gem from simplyinspired. I love their super cute prints in tons of different styles.

simple and chic wedding gift and a super cute baby gift... 
love these ideas!

I decided to go with this one: 
but of course with Idaho, Texas and Utah. 

Working with simplyinspired has been such a great experiences. I wanted very specific colors and a very particular set and she worked with me so well. She's awesome and as I thought more about this I realized this would be an awesome Christmas gift! Personalized and perfect for everyone!

Go check her out and let me know what you get! 


20 October 2012

Fall Wreath

I know I should have done this about 3 weeks ago but it's been a bit crazy around here in the Yeck home.

This weekend is my project weekend, to find out why, click here!


This fall wreath cost me less than 4 dollars and took me less than 30 min. Now that is my kind of DIY.

Here is what you need:

Foam board (this will be where the poster board is at) Dollar Store!
Fake leaves - also from the Dollar Store!
Knife
Hot Glue Gun

Start my measuring how big you want it to be. Mine is 14" by 12". The smaller square is 2 inches smaller in every direction. So the wreath will be 2 inches wide.

Once you have your foam board cut out just start hot gluing on leaves in every direction!

I had to take a mid point picture becuase I was talking to Mike while gluing and I needed a good reason to have burned myself. He loves it!

excuse the awful pic, it was a mid-call snapshot.

Once you've made it around keep adding more on top so it looks full and there are NO white spots!


Soon enough, more like 10 min., you'll have your fun and easy fall wreath! You can add ribbon to hang it or just the wreath!


So go out and grab a few things to make a wreath and then head home, turn on the BYU vs. Notre Dame football game and get crafting!



13 June 2012

Dining Chair Recover!

Here we are onto segment #3 of the furniture refurbish.

Check out segment the antique vanity and the desk to nightstands also!

I know I say this every time but this might be my FAVORITE!

*Dining Table*
 Just Kidding!
I was going to do the entire table and chairs in one post but I think I'm going to do them separately to avoid a picture overhaul! You can check out the table changes and the chair painting later.

For now you can see how to reupholster dining room chairs! 

We started with the seats of the chairs. I went to pick out some fabric, thinking I would get a neutral, not to WOW design. Then I fell in LOOOVE with this:


Holy dang - A little out of my comfort zone but I couldn't resist. 

Here is a really easy step by step for recovering chairs. 
This is for chairs with the removable pad. It simple unscrews from the bottom. 


As you can see there were a few other layers underneath. we chose to take off one layer but leave the other 3-4. It's completely up to you although I would recommend leaving some because if you take it all the way back to the pad it's harder to recover. The other layers holds the pad in place! 

Lay out the seat and cut your fabric to about 2-3 inches bigger than the seat. 


Start with the corners and pull the fabric over. Give it two good staples in each side. Do all 4 corners.


Pull the sides over, tucking any extra at the corners and staple about every 2 inches. Make sure it's very secure.


Cut off any extra fabric that may be getting in the way.


Check that out! You have reupholstered chairs!


19 March 2012

Mirror Mirror...

I love having mirrors all over the place. I really like homes that have one right by the front door. Not only is it great to look at before you leave the house but it's nice when you've been cooking and may or may not have flour all over yourself and suddenly the neighbor knocks on your door. That's never expected. :)

A well placed mirror can add perfect depth and variety to a room! Try it out and see how it compliments your space!

So here are some of my favorite rooms full of mirrors:


This one is great, an elegant yet modern framed mirror give a great compliment to the other decor. Also, the white not only contrasts but also compliments the other colors working in the room.
A big mirror in a big room! I love it all the time. This shape of the mirror gives a fun effect, especially against the busy and beautiful wall. The black trim is fantastic above the light sofa.
Okay, last one! This is a very chic and lovely use of mirrors in a bathroom. Having lots of smaller mirrors in a space gives a great feel and a nice appeal!

So check out this decorating idea and let me know how you like it! We are always loving comments and suggestions for other readers!!

10 March 2012

Spring Wreath

It's been feeling really warm today so I got a little crafty! I've seen these kinds of wreaths with the house number on it but we have our apartment number right on our door so I did a Y for our last name.


I picked everything up at Michaels. I love the coupons they have. You don't even have to print it. Just pull it up on your smart phone and they can scan from there. Plus, the wreath and flowers were on sale.

Cut the flowers so you have about an inch of the stem. This makes it easy to stick in the wreath.

Cut a long strip of wire and use this to secure the flower to the wreath. Twist the ends and cut the excess with wire cutters.


Now here you are! I pulled a little bit of blue in but you could do any colors. Also these are easy to remove to changing it up in the fall will be really easy!


Now I just ran a strip of hot glue on the back and stuck my wire down. Added a little more glue over the top and let it dry nice and good!

Place your letter on and wrap the wire around the back of the wreath and twist ends together. The roughness of the wreath will help keep the letter very secure. It's NOT coming off!


Hang it up and enjoy. I love walking up to our door and seeing this! :) Makes my day!

Let me know if you have any questions or comments! :)

Chevron Everything

In case you haven't noticed the Chevron craze is taking flight. If only we owned our own place we would definitely have a wall with the zig-zag stripe love!

My sister painted one herself in both her home and the home of another sister. She's amazing and will be helping me with mine when that time comes. For now I just look at pictures and wish!! :)

These are some of my favorites!

WOW! Check out that teal and silver! Talk about dynamic!


Ok lets talk about this one! Amazing! The silver lining under each black layer makes the black really POP! I've come to love the small antler addition on painted walls. It's a little quarky but when placed like this it's great! Putting the shabby yellow dresser on this wall makes it really stand out! This may be my favorite!

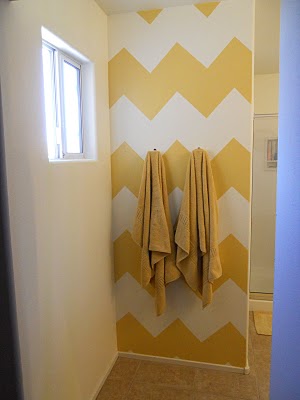
I love yellow in bathrooms and just doing a small wall like this in a room that doesn't have much space is such a great idea! Near a window pulls in great light to add to the brightness of the yellow! And putting some blue towels on those hooks would put me over the edge! :)


If you're like me and can't pull out the paint and brushes without being evicted then a little sometime like this might satisfy your need for chevron goodness! Plus, it can pull in even more colors! Win, Win!


Once my lovely sister get back to the USA I'll get her clips from doing this same thing herself. She's done it a couple of times and says it's really not to hard. A definite DIY project!

Good luck!